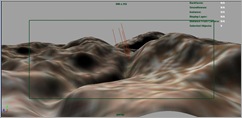
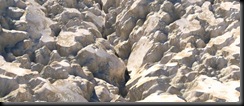
I was messing around with displacement shaders using mental Ray when I decided to test it out by creating a rough rocky mountain texture.
So I went onto creating a NURBS plane and sculpting it briefly to block out the shape.
I created a displacement shading network. I mostly used 3D textures provided by Maya and had them interconnected.
I set up the mental Ray physical sun with final gather turned on. When I did my first test render, the displacement did not show up correctly. So I went to the approximate editor to increase the displacement quality. Boy, the render time was expensive!! Roughly 20 minutes. Here’s the result.


No comments:
Post a Comment